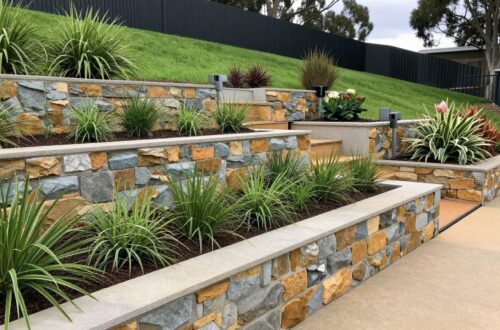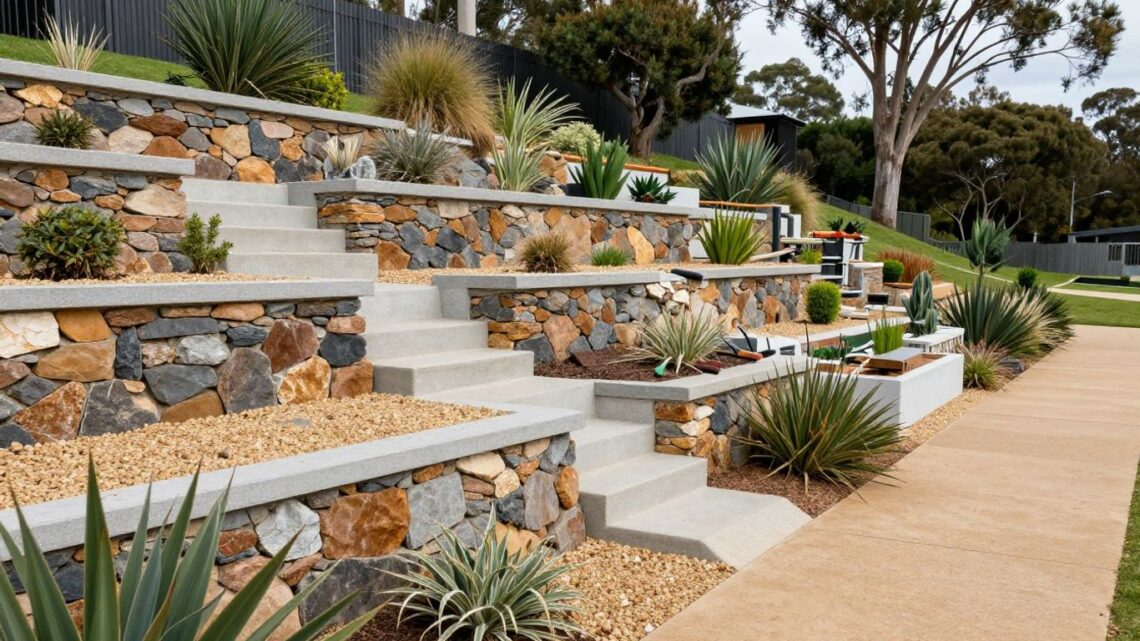
Retaining wall basics: A level-headed guide to walls that hold their ground
Key Takeaways
A retaining wall can turn an awkward slope into useful, stable ground, but it is not merely a pile of attractive blocks. These retaining wall basics will help us plan sensibly and avoid the classic expensive surprises.
- A wall holds back soil and needs a stable base, suitable materials, and reliable drainage.
- Wall height, soil conditions, water, and nearby structures all affect the design.
- Small landscape walls may suit a careful DIY approach; taller or loaded walls may need engineering.
- Gravel, drainage pipe, and clear outlets matter just as much as the visible wall face.
- Regular inspections help us spot movement before a small repair becomes a full rebuild.
What a retaining wall does—and when you need one
A retaining wall holds soil at a change in ground level, creating a more usable or manageable area on a sloping site. It also has to resist soil pressure, water, and the gradual movement that comes with weather. We get better results when we treat it as a small structure rather than garden decoration with excellent posture.
How retaining walls tame sloped terrain
On a slope, gravity keeps encouraging soil to move downhill. A retaining wall interrupts that movement and creates a step, terrace, or level edge, provided the base and drainage are designed to carry the load. The wall does not make the hill disappear; it gives the hill a controlled place to stop.
A sensible layout may create planting beds, a level path, or more practical space beside a home. We should still consider where rainwater will travel, because changing the shape of a slope can send runoff somewhere it never visited before.
Signs your yard has a grade problem
Some clues are obvious, such as soil washing across a path or a garden bed becoming noticeably thinner after rain. Other signs are quieter: puddles beside a slope, exposed roots, leaning fences, cracking ground, or mulch collecting at the bottom of the yard. These symptoms do not automatically call for a retaining wall, but they do call for a closer look.
We can watch the site through a few wet-weather cycles and note where water and soil actually go. That simple observation often tells us whether the answer is a wall, better surface drainage, planting, or a combination of all three.
Retaining walls versus garden borders
A garden border mainly marks an edge. A retaining wall holds back a difference in ground level, so it carries a structural job even when it is low and charming. Confusing the two is how a neat row of edging ends up leaning like it has heard a disappointing rumour.
The more soil sits behind the wall, and the more people, vehicles, patios, or buildings sit nearby, the more seriously we need to treat the design. Appearance matters, but it comes after stability and water management.
When a slope needs an engineer, not just enthusiasm
We should get qualified help when a wall is tall, supports a driveway or building, sits near a boundary, or forms part of a steep cut. Poor soil, groundwater, a history of movement, and unusual loads are also good reasons to pause the shovel. Local rules may set their own thresholds, so height alone is not the whole story.
An engineer can assess the ground, loads, drainage, and reinforcement rather than relying on a hopeful stack of blocks. There is no shame in doing the excavation ourselves and getting the critical design checked; enthusiasm is useful, but it is not a substitute for a calculation.
The main types of retaining walls
Retaining walls come in several forms, and each relies on a different way of resisting soil pressure. Some use their own weight, some use reinforcement, and some transfer forces into the ground. We should choose the wall type after considering the site, not because one style looked splendid in a catalogue.
A wall also needs to suit the available space behind and in front of it. Setbacks, footings, reinforcement, machinery access, and the eventual finish can all affect which system makes sense.
Gravity walls: letting mass do the heavy lifting
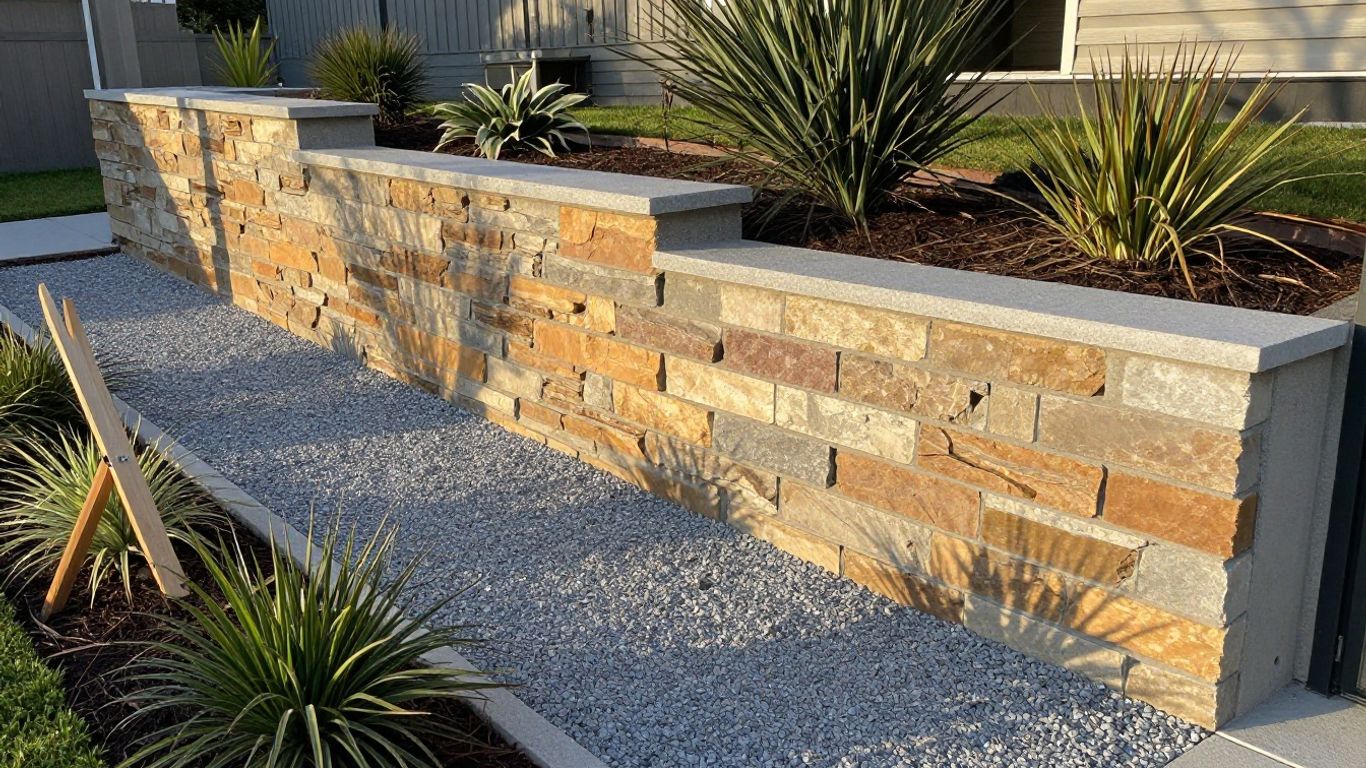
Gravity walls resist soil pressure through their weight and footprint. They may be built from substantial stone, concrete, masonry, or purpose-made units, often with the wall leaning or stepping slightly into the slope. They are straightforward in principle, though “straightforward” does not mean “immune to water”.
These walls need a firm foundation and enough mass for the site conditions. A wide base can also consume valuable garden space, so we should check the available room before falling in love with a chunky design.
Cantilever walls: strength with a concrete backbone
A cantilever wall uses a reinforced concrete stem and base to transfer loads through the footing and the soil around it. It can support a taller wall with less visible mass than a simple gravity wall, but the structural design and reinforcement are less forgiving.
This is generally a job for proper plans, suitable steel placement, and careful construction. Guessing the reinforcement because the trench looks convincing is a poor trade, especially when the wall will support a driveway or building.
Segmental block walls: the popular modular option
Segmental block walls use manufactured units that stack in courses, usually with a setback and a drainage zone behind them. Their modular nature makes them attractive for landscape work, and damaged individual units can sometimes be replaced without demolishing the entire face.
The blocks are only one part of the system. The base, alignment, backfill, drainage, and any required reinforcement determine whether the finished wall behaves like a structure or a very tidy pile of masonry.
Anchored and sheet pile walls: serious support for serious slopes
Anchored walls use ties or anchors extending into the retained ground, while sheet pile walls rely on driven or installed sections that penetrate below the retained level. These approaches can help where space is tight or the slope is demanding, but they involve specialised design and installation.
For most household garden projects, they are not a casual weekend experiment. Nearby services, boundaries, vibration, access, and ground conditions all deserve professional assessment before work begins.
Choosing the right materials
Material choice affects strength, drainage details, appearance, maintenance, and the amount of labour we can reasonably manage. A wall should look at home in its setting, but a pretty face will not correct a weak base. We want materials that suit the ground and the construction method, not merely the weekend mood.
It also helps to price the complete system: excavation, base material, drainage, reinforcement, delivery, equipment, and disposal. The visible units are often only one line on the actual project list.
Concrete, stone, timber, and block compared
Each material brings a different mix of weight, flexibility, finish, and construction demands. The broad comparison below is a starting point, not a design certificate.
| Material | Typical strength | Main advantage | Main watch-out |
|---|---|---|---|
| Concrete | High when properly designed | Suits structural forms and clean lines | Reinforcement and footing details matter |
| Stone | Depends on size and construction | Natural appearance and substantial mass | Requires careful placement and a stable base |
| Timber | Moderate and variable | Light, familiar, and quick to handle | Decay, moisture, and fixings need attention |
| Segmental block | System-dependent | Modular installation and many finishes | Drainage and setback must follow the system |
The table gives us the broad shape of the decision, but the site remains the boss. A material that works beautifully for a low garden terrace may be a poor choice beside a driveway or on wet, weak soil.
Matching materials to soil, climate, and style
Clay can hold water and swell, sandy ground can move or wash, and fill may behave differently from undisturbed soil. A wet climate, freeze-thaw exposure, salt near the coast, or bushfire considerations may also change the sensible material choice. We should ask how the material will cope with the local conditions, not just how it looks on a sunny afternoon.
The finish should complement the house and landscape without making maintenance awkward. A wall that hides stains, allows sensible repairs, and has a practical top edge will age more gracefully than one chosen solely for its first photograph.
How wall height changes the material equation
As height increases, soil pressure and the consequences of movement become more serious. The wall may need a wider footing, reinforcement, a stronger system, or professional design rather than a thicker-looking face. We should also consider surcharge loads from vehicles, structures, stored materials, and people using the area above.
Height is measured from the relevant foundation level to the retained ground, not just from the visible top of the finished blocks. Confirming that measurement early prevents a cheerful plan from quietly becoming a much larger structural job.
Why bargain materials can become expensive souvenirs
Cheap units may be unsuitable for the load, climate, or installation method, while poor-quality drainage materials can clog or deform. Replacing a failed wall also means paying for removal, disposal, fresh excavation, and often repairs to nearby paving or planting. The cheapest quote is not always the cheapest wall.
We can save money more safely by simplifying the shape, doing suitable preparation ourselves, and comparing complete system costs. Cutting out the base or drainage is not a saving; it is borrowing trouble at an unpleasant interest rate.
Planning the site before digging
Good planning turns a vague slope into a measurable job. We need to understand the wall’s position, height, length, soil, water, access, and relationship to everything around it. A few hours with a tape, level, camera, and notebook can prevent several days of confused excavation.
We should plan for construction space as well as the finished wall. The trench and drainage zone need room, and deliveries or equipment may need access before a new garden bed makes the route impossible.
Measuring slope, height, and wall length
Mark the proposed line with stakes and string, then record the change in level along its length. Measure the height at several points rather than assuming the ground is polite enough to remain consistent. Curves, steps, and transitions should appear on the sketch before they appear in concrete or block.
A simple site drawing can show existing levels, the top and toe of the slope, nearby structures, and where water currently travels. It need not be beautiful; ours rarely are. It needs to be clear enough that another person can understand the plan without a guided tour.
Understanding soil pressure and site conditions
Soil pressure is affected by the soil itself, moisture, slope above, and extra loads near the edge. Fill, soft spots, roots, buried rubble, and groundwater can all change the job after excavation begins. We should expose enough of the site to understand what we are building on before ordering every visible component.
A basic site review should consider:
- Whether the foundation soil is firm and undisturbed.
- Whether water appears in the trench or seeps from the slope.
- Whether a driveway, shed, pool, fence, or building adds load above.
- Whether the slope shows cracks, slips, erosion, or previous repairs.
Once those observations are written down, the design conversation becomes much more useful. If the ground looks unstable or wet, we stop treating the project as ordinary garden work and ask for qualified advice.
Checking utilities, property lines, and access
Before digging, we need to locate underground services and confirm where the property actually ends. A wall placed over a boundary, service corridor, or shared drainage path can create a problem that no amount of attractive capping will disguise. We also need to consider whether excavation could undermine a neighbour’s ground or structure.
Access deserves equal attention. Blocks, gravel, concrete, and spoil are heavy, and carrying every load through a narrow house can turn a modest build into a stern fitness programme. Plan delivery points and temporary storage before the trench is open.
Knowing when permits or professional plans are required
Rules vary between councils and sites, so we should check local requirements before work starts. A permit, engineering plan, boundary consideration, or inspection may apply depending on the wall, its height, location, and effect on drainage. We should not assume that a wall in a backyard is automatically exempt.
If plans are required, use them as the construction reference rather than treating them as paperwork to file and forget. Requirements can also affect excavation, stormwater discharge, and retaining near a boundary, so early checks are much cheaper than retroactive changes.
Drainage: the wall’s behind-the-scenes hero
Water is one of the main reasons retaining walls move, bulge, stain, or fail. Soil becomes heavier when wet, water pressure builds behind the wall, and flowing water can wash fines into gaps. A drainage plan gives the water somewhere controlled to go instead of asking the wall to negotiate with a saturated hill.
The drainage arrangement must suit the wall system and the site. It should be buildable, inspectable where practical, and connected to a safe outlet rather than ending mysteriously beside the footing.
Why water causes so many wall failures
A wall may look solid while water collects unseen behind it. Saturated backfill can push against the wall, while freeze-thaw conditions can add movement in colder areas. Surface runoff can also scour the soil above or wash material through joints.
We should separate clean drainage stone from ordinary soil and guide surface water away from the top wherever possible. The aim is not to make the slope dry forever, which would be ambitious, but to prevent uncontrolled pressure and erosion.
Building a gravel drainage zone
A free-draining gravel zone behind the wall helps water move down rather than pressing directly against the wall face. It needs enough width for the wall system and should be kept separate from fine soil with suitable filter material where the design calls for it.
The gravel must be placed without damaging the wall or pushing it out of alignment. Adding it in manageable lifts as the wall rises gives us a chance to compact the surrounding fill and check that the face remains true.
Using perforated pipe and proper outlets
A perforated drain pipe near the base can collect water from the drainage zone and carry it to an appropriate outlet. The pipe needs the correct fall, protection from clogging, and a discharge point that will not erode the neighbour’s garden or undermine the wall’s own footing.
The outlet should remain accessible enough to inspect and clear. A pipe that disappears into soil with no sensible exit is not a drainage plan; it is a future guessing game with mud on it.
Preventing clogged drains and soggy surprises
Fine soil can migrate into gravel and pipework unless the system is detailed to limit that movement. Construction debris, crushed material, and careless compaction can also reduce the drainage zone’s performance. We should keep the drainage layer clean and avoid letting general backfill replace it.
After heavy rain, look for unusual wet patches, new channels, blocked outlets, or water appearing through the wall. Those clues are useful early warnings, and they are much friendlier than discovering the problem when the wall has developed a dramatic lean.
Building a retaining wall step by step
The exact sequence depends on the wall system, but the principles are consistent: prepare a stable foundation, build accurately, manage water, and place backfill carefully. We should follow the manufacturer’s instructions or engineered drawings where they apply. A retaining wall rewards patience, which is slightly annoying but reliably true.
Before starting, gather the right tools and arrange materials so the work does not stop halfway through a course. Rechecking levels repeatedly is slower than repairing a crooked wall, and considerably less embarrassing.
Preparing a stable trench and base
Set out the wall line and excavate to the planned depth and width, keeping the foundation area as undisturbed as possible. Remove loose material, roots, and soft spots, then place and compact the specified base material in layers. The base must be firm, level, and able to support the first course without rocking.
We should not use standing water, loose spoil, or random rubble as a substitute for a designed base. If excavation reveals conditions that differ from the plan, stop and reassess rather than quietly changing the rules underground.
Setting the first course level and firmly
The first course does most of the work of keeping the rest of the wall orderly. Set each unit level from side to side and along the wall, seat it firmly, and check alignment often. Small errors at the bottom tend to become large errors at the top, where they are harder to disguise and easier to see.
For systems designed with a setback, establish that angle from the first course rather than trying to force it later. Keep the base clean while placing units so gravel, soil, and loose fragments do not create rocking points.
Stacking, reinforcing, and adding backfill
Build in courses, following the specified interlock, adhesive, pins, geogrid, or reinforcement method for the chosen system. Place drainage material and backfill in controlled lifts, compacting without pushing the wall out of line. The wall and the ground behind it should rise together rather than leaving a tall unsupported face waiting for a late-night weather event.
Check alignment, level, setback, and drainage as we go. If the system requires reinforcement extending into the backfill, install it at the stated courses and length; do not shorten it because the garden bed has become inconveniently enthusiastic.
Managing corners, curves, and changes in grade
Corners and curves need planned units, cuts, or transitions rather than improvised gaps. A stepped base can follow a sloping site, but each step must remain properly supported and connected to the next section. Abrupt changes in grade can concentrate water and loads, so they deserve extra attention.
Lay out difficult areas dry before fixing or backfilling them. That little rehearsal exposes awkward joints while we can still move the pieces, rather than after the wall has acquired a permanent and puzzling expression.
Protecting the wall for the long haul
A finished wall still lives in a changing landscape. Rain, roots, runoff, settlement, and accidental damage can affect it over time, even when the original construction was sound. A quick inspection after major rain and a more deliberate check from time to time help us notice movement early.
Maintenance is mostly observation and sensible water control. We are not trying to polish the wall into submission; we are checking that it remains stable and that its drainage paths have not been quietly defeated by leaves, soil, or enthusiastic gardening.
Inspecting for bulges, cracks, and leaning
Walk the full length and look along the face for bulges, steps that have shifted, open joints, cracks, or a top edge that is no longer straight. Check the ground above for new cracks and the toe below for displaced material. Photographing the wall from the same position can make gradual movement easier to spot.
A small cosmetic mark is not automatically a structural emergency, but a pattern of movement deserves attention. We should not simply add more soil or decorative stone to hide a changing profile; that is landscaping’s version of putting a cushion over a warning light.
Controlling erosion and runoff nearby
Keep roof water, downpipes, paths, and hard surfaces from concentrating runoff directly behind or beside the wall. Planting can help protect exposed soil, while surface channels or other drainage measures may guide water safely around the structure. We should also avoid letting irrigation constantly soak the retained ground.
Inspect after storms for rills, exposed roots, washed-out gravel, and sediment near outlets. Fixing the water route may protect both the wall and the rest of the garden, which is a pleasing amount of work from one sensible adjustment.
Repairing minor damage before it becomes a sequel
Minor problems may include a blocked outlet, loose cap, eroded soil, or a small area of settlement. The appropriate repair depends on why it happened, so we should correct the water or foundation issue rather than simply filling the visible hole. A surface patch over continuing movement is decoration, not repair.
If a unit has shifted, compare it with the surrounding wall and inspect behind it before resetting anything. Wear protective equipment, keep loads away from an unstable edge, and ask for qualified advice when the cause is unclear.
Knowing when replacement is safer than patching
A wall that is leaning significantly, bulging along its length, separating from its base, or showing ongoing movement may not be safe to patch. Failure can affect people, vehicles, buildings, paths, and neighbouring land, so we should keep clear of a seriously compromised area and arrange an assessment.
Replacement may involve removing unstable material, improving the foundation, redesigning drainage, and choosing a more suitable system. It is a bigger job, but a properly planned rebuild is preferable to repeatedly repairing a wall that has already explained, several times, that it wants a different career.
Frequently Asked Questions
What is the main purpose of a retaining wall?
A retaining wall holds back soil where there is a change in ground level. It can create terraces or usable level areas, while also helping manage erosion when it is correctly designed and drained.
How tall can we build a retaining wall ourselves?
There is no universal DIY height limit because local rules, soil, loads, location, and wall type all matter. Check local requirements and seek professional design when the wall is tall, heavily loaded, near structures, or showing difficult ground conditions.
Does every retaining wall need drainage?
Most retaining walls need a way to control water behind and around them. The exact arrangement varies, but gravel, suitable filter measures, perforated pipe, and a safe outlet are common parts of a drainage strategy.
Which material lasts longest for a retaining wall?
Longevity depends on the material, installation, soil, moisture, climate, drainage, and maintenance. A well-designed system installed for its site generally matters more than choosing a material based on reputation alone.
Can a retaining wall be built directly on soil?
A wall needs a stable, properly prepared foundation rather than loose topsoil or uncontrolled fill. The required base depends on the wall system and site, so excavation should follow the design and account for soft or wet ground.
How do we know if a retaining wall is failing?
Bulges, leaning, widening cracks, shifted units, new ground cracks, blocked drainage, and water pressure after rain can all be warning signs. Ongoing or significant movement should be assessed rather than concealed with fresh soil or plants.
Should we get permission before building a retaining wall?
Possibly. Requirements vary by location and may depend on height, boundaries, drainage, nearby structures, and the effect on neighbouring land. Check with the relevant local authority before digging.

You May Also Like